Vehicle safety and reliability depend on the condition of multiple systems and literally hundreds of components that are susceptible to wear – in some cases even when the vehicle is parked for an extended period of time.
It is important to ensure the vehicles are in safe, reliable operating condition. Garage Gurus has developed a series of helpful, system-specific checklists that can aid vehicle workshop professionals and consumers in preventing potential breakdowns and other problems for vehicles that have been largely idle for the past months.
GARAGE GURUS SUGGESTED CHECKLIST
BRAKING SYSTEM
- Check for missing parts.
- For floating calipers, check that the caliper is moving freely on the guides.
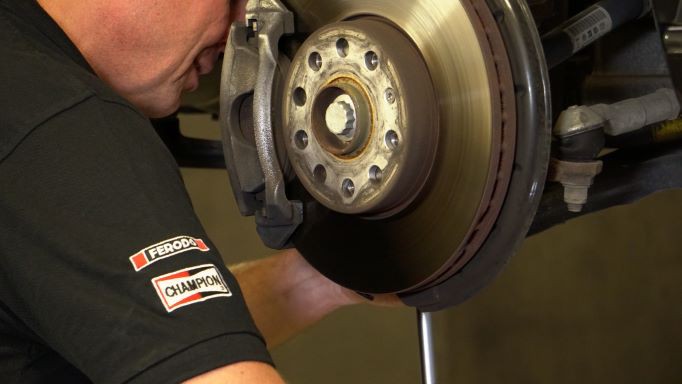
- After a visual inspection, check the brake disc thickness with a micrometre. If the result is less than the minimum thickness allowed (engraved on the disc edge) it is mandatory to replace the discs. Always change discs as a pair and it is also essential to replace the brake pads when replacing the brake discs.
- With the vehicle off the ground check that the wheels spin freely.
- Check the brake fluid level and condition. Determine when the fluid was last replaced (if more than two years it is recommended to change it). Ensure that there are no leaks and, if there are signs of escaped fluid, also check the hoses. Look at the level of fluid in the reservoir and top up if necessary, making sure that the additional fluid is of the same specification. Don’t mix different grades of brake fluids. Some installers evaluate brake fluid from the colour: in reality, colour specifications are from neutral to amber (it depends on the supplier).
- Check the ends of the flexible brake hoses for corrosion.
- If the vehicle has rear calipers with an integrated handbrake, make sure the arms are released so the brakes do not bind.
- Upon starting the car check for any illuminated warning lights on the instrument cluster, such as that for the brake fluid level, brake pads and ABS, as these can be indicators of visually unseen braking issues.
- Inspect the brake discs for delamination, cracks, splits, and weak points on the hat and face.
- Listen for squeal, as some brake pad styles use acoustic wear indicators. The noise can be a sign that a single brake pad is worn to the 2.5mm lower limit.
- Check the calipers for missing parts, such as retaining bolts and springs, and also for damaged fingers.
- If the vehicle has been stationary for some time, pump the brake pedal to ensure that it is hard and there is a good feel to it.
- Check the brake hoses for chaffing, cuts, swelling/ballooning and general deterioration. Ensure that no brake hose is bent or twisted and there is no contact between hoses and suspension components once the vehicle has been lowered.
- Check if any part of the brake system shows corrosion, especially on the points of contact between the calliper and the pad.
- Check that rubber components in the calliper are in good condition.
It is essential to follow a bedding-in process when new disc and pads have been installed. Achieving a flawless mating area between the pad and disc surface requires effort. To initiate the bedding-in process (also called "burnishing"), you can perform around 20 complete stops in the car, ranging from 50-0kph, or a similar number of slow-downs from 80-30kph, before handing the car over to the customer. Afterwards, the customer should continue the process by lightly braking frequently for the initial 300km, while avoiding hard braking or activating the ABS. Following this procedure can reduce or eliminate the risk of noise.
SHOCKS AND STRUTS
A good inspection of these key elements will include two important procedures:
Regular visual inspection that includes:
- Signs of oil leakages at shock or struts.
- Sings of deformation or impacts at shock or strut housing or piston rod.
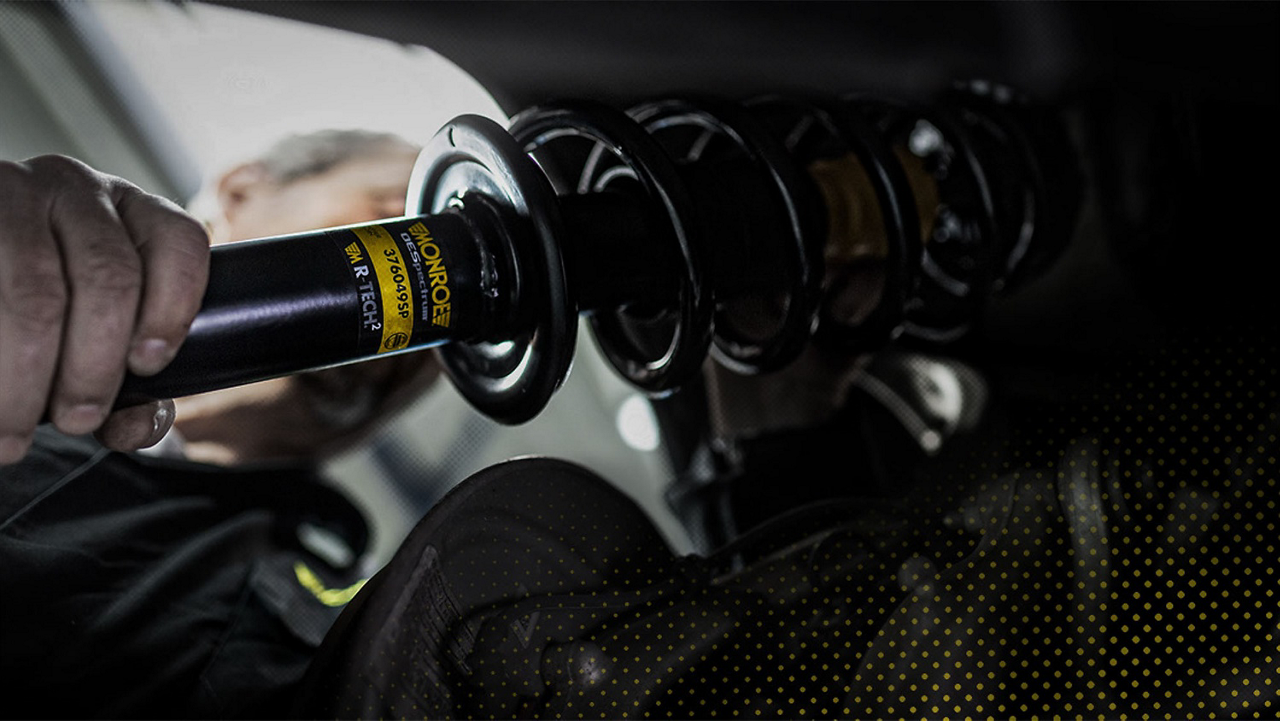
- Status of coil springs (seeking for signs of cracks, rust, abnormal deformation). With the car on a lift and the wheels hanging, try to move the spring from its position by pulling it with the hands, if you succeed it is a sign that the spring should be replaced immediately.
Test drive, focusing on:
- Where safe to do so, perform a series of sudden stops. If the front part of the vehicle “dives” excessively and oscillates more than 1,5 times towards the road, the shocks and/or struts might require replacement.
- During the test drive, check if the steering wheel returns to centred position after each turn. A remaining 8º to 10º angle may occur when the top mounting kit is damaged due to excessive wear.
- Push down on the car body and see how the suspension reacts. In perfect condition it should go up, down and then stop (1,5 cycles). Any continuation of movement can be an indication of worn shocks*.
Monroe recommends checking your steering and suspension system every 20,000km and replace your shocks and struts together with your Protection Kit & Mounting Kit 80,000 km**.
As a general rule, shock and struts and other suspension bushings should be tightened with a torque wrench, at the right tightening torque recommended by the manufacturer only when the car´s tires are supporting the weight of the car, never on the lift.
*This test only applies to vehicles equipped with passive suspension systems, semiactive and active suspensions cannot be tested this way.
**Actual mileage and results may vary, amongst others depending on driver ability, vehicle type, and the type of driving and road conditions.
STEERING AND SUSPENSION
- Check the status of steering and suspension bushings and ball joints (for cracks or external damage).
- Search for “knocking noise” or other abnormal mechanical sounds while driving, they may indicate that a steering or suspension component is damaged, incorrectly installed (Fixing mounts, top mounting kits or springs, ball joints) or touching another component (wrong fitment).
- Check the status of the tyres, look for signs of uneven wear as “cupping” that can point to worn ride control components or incorrect wheel alignment.
- Ensure the tyre pressure is the correct for the intended use of the vehicle.
- Check the power steering fluid level and look for any signs of leakage.
- Inspect the condition of the ball joints, paying attention to the dust cover and the internal gap.
- Check for to see if there are any tears, cracks or perishing of the bushings.
- Check for damaged or deteriorated hoses and seals.
- Check for any corrosion on steering and suspension parts.
- Look for any bouncing of the vehicle, excessive body roll, knocks, squeaks and rattles.
- Check that the steering wheel aligns with the direction of the front wheels.
- Check for any leaks of the hydraulic bushings.
- Check loose bolted connections.
- Check for rust and cracks at subframe mounting points.
- Review condition of power steering pump belt.
During a drive test, pay attention to any abnormal behaviour of the vehicle, such as:
- Shimmy effect on steering wheel.
- Hard steering and/or if the steering wheel doesn’t recover its neutral position after cornering.
- Vehicle pulling left or right.
- Play on steering wheel.
- For joints equipped with a grease nipple, ensure they are well lubricated, add grease if needed.
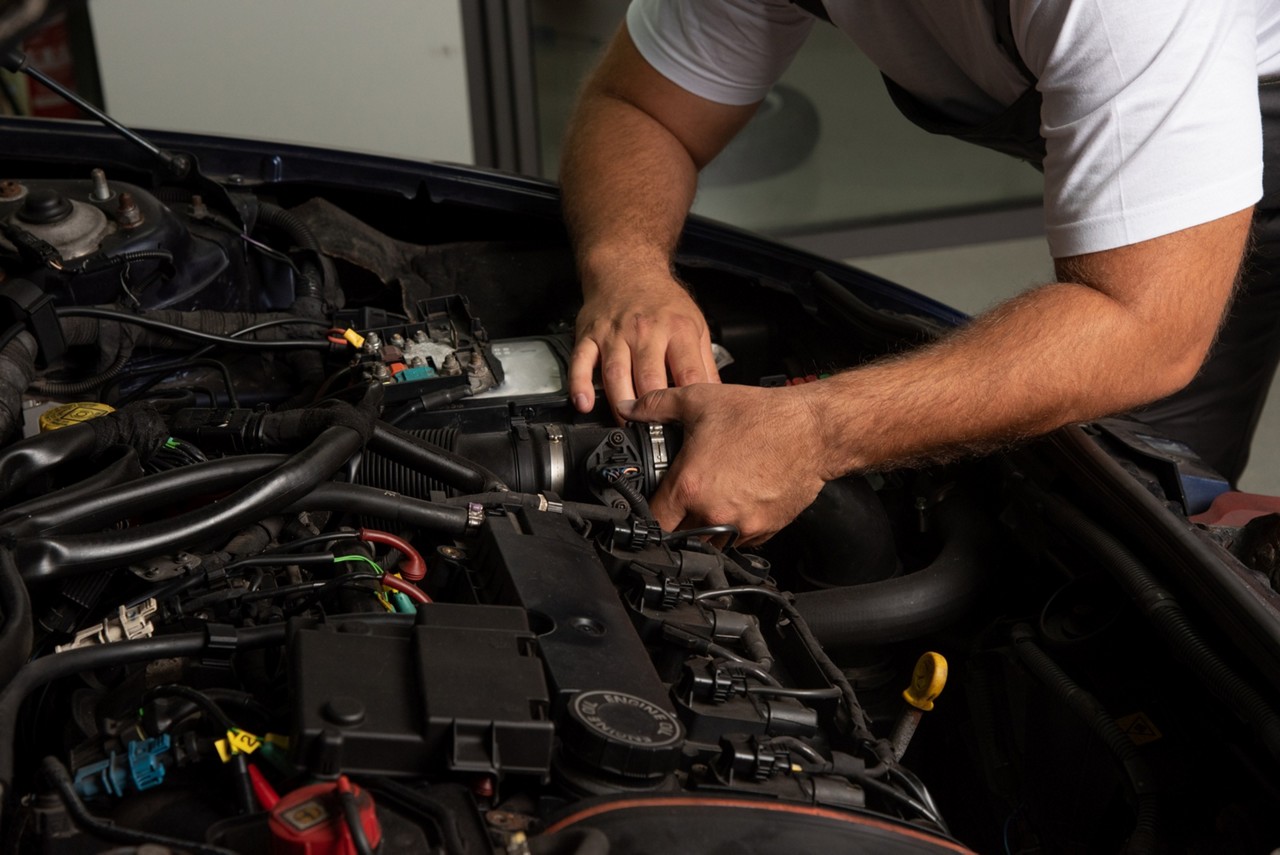
ENGINE AND SEALING
- Check that the engine mounts are securely fastened to the chassis and bodywork.
- Check that the engine components (alternator, fuel pump, etc.) and engine mounts are securely tightened.
- Check condition of serpentine belt.
- Inspect the oil sump for leaks. If any are evident, change the gasket and tighten the bolts to the manufacturer’s settings.
- Inspect induction pipework for signs of splits or kinks.
- Undertake any routine maintenance or checks outlined in the engine manual.
- Check the engine manual for belt/ chain service interval. If there are any signs of damage it should be replaced immediately, regardless of when it was last changed.
- Check the dashboard lights and gauges to ensure there are no warnings and that fluid levels and pressures are correct.
- Start the engine and allow it to run for a few minutes to ensure that engine components are well lubricated.
- Check coolant hoses upon warming up.
- Look underneath the vehicle for signs of fluid leaks.
- Do not allow the engine to idle for a long time.
- Check the colour of the exhaust gases from the exhaust pipe. The colour of the exhaust gases should be transparent.
- White exhaust smoke can be a consequence of:
- Coolant/Anti-freeze entering the cylinders (due to defects in the cylinder head or burnt gaskets)- persistent thick white smoke.
- A faulty glow plug during cold start.
- Coolant/Anti-freeze entering the cylinders (due to defects in the cylinder head or burnt gaskets)- persistent thick white smoke.
- Light or dark blue exhaust smoke can be a consequence of:
- A piston ring sticking, advanced wear and tear.
- Worn valves, valve guides and valve stem seals.
- Excess oil or PCV valve failure.
- Excessive oil combustion.
- Faulty turbocharger lubrication system.
- Black exhaust smoke can be a consequence of:
- Incomplete fuel combustion due to poor atomization by the injectors (worn needle or reduced advance angle of injection).
- Incorrect settings of high-pressure fuel pump.
- In diesel vehicles – incorrect injection timing,
- Insufficient air supply (indicates that the air filter must be replaced).
- Incorrect A/F ratio due to turbocharger, blocked air filter, inlet obstruction.
- Excessive carbon build up in combustion chamber or inlet manifold.
- Engine is running cold with rich mixture.
- Crack in exhaust before lambda sensor.
- Ignition failure.
- Partial failure of cylinder.
- DPF blocked or regeneration issues.
- Dark blue-grey or light grey exhaust smoke can be a consequence of:
- Poor running-in of cylinder-piston group parts.
- Loss of the piston rings mobility due to high coking.
- Lack of compression in the cylinders.
- Excess of oil.
- PCV failure.
- Worn out valve seals.
- White exhaust smoke can be a consequence of:
MAINTENANCE
- Verify that headlights, high beam, taillights and indicators function correctly.
- Check the inclination value on the headlight – for every 10m, and 1.2% means the low beam tilts 12cm for every 10m. This will prevent dazzling oncoming drivers.
- Where there is an illuminated bulb warning light on the dashboard:
o Check individual lights are working (e.g., front, rear, stop light).
o Ensure lights with two functions are both working (e.g., rear light with integrated stop light).
- Where there is no illuminated bulb warning light on the dashboard and lights are inoperative:
o Check the contact in the bulb holder.
o Check the fuses and voltage.
Battery
Ensure battery is fully charged & holding charge. Most batteries lose charge in cold weather due to the chemical reaction within the battery slowing down.
Glow Plugs
Due to battery power loss & lower temperatures, glow plugs will take longer to initially heat. Allow for this when cold-starting.
If engine fails to start or is misfiring.
If battery is fully charged & holding charge, you probably need to change the glow plugs.
Screen Wash
Check fluid level & top-up as required. Ensure a suitable freezing temperature fluid is used for location climate.
Verify that headlights, high beams, taillights and blinkers function properly.
Check oil level
- Ensure the vehicle is parked on level ground and the engine is cool.
- Open the bonnet and locate the dipstick. If the dipstick location isn’t obvious, check the user manual. Some cars may not have a dipstick and are fitted with electronic oil monitors.
- Once the dipstick is located, pull it out and wipe it clean with a cloth or rag. There should be two marks on the dipstick, identifying the minimum and maximum oil levels.
- When it’s clean, put the dipstick back into its tube, pushing it all the way back in and then remove it again.
- If the oil requires topping up, make sure the correct oil is available and locate the oil cap, which is usually marked with the picture of an oil can. Remove the cap and pour in a little at a time, checking the level with the dipstick to ensure it is not overfilled, as this can also cause damage.
Check coolant/anti-freeze level – DO NOT OPEN THE EXPANSION TANK WHEN THE ENGINE IS HOT!
- Check the level of coolant/anti-freeze in the expansion tank. Do not exceed the full mark.
- If a top-up is required, identify the right standard of coolant/anti-freeze.
- Be aware that when the coolant/anti-freeze gets hot it will overflow into the reservoir.
- Use a coolant/anti-freeze tester to determine the exact protection temperature of your coolant/anti-freeze.
- Inspect the surface of the coolant/anti-freeze for signs of any oil. If the surface is dark or has an oily film on the surface, it may mean that the head gasket is leaking.
If required, change engine oil and filter
- You should replace your oil filter every time you carry out an oil change.
- Oil and oil filter will ensure smooth lubrication of your engine. Oil filter plays a vital role in protecting your engine from potential damage by removing the contaminants (dirt, oxidized oil, metallic particles, etc.) that can accumulate in the motor oil due to engine wear.
- Many manufacturers recommend intervals of 10,000 to 15,000km. Your vehicle’s owner’s manual will give recommendations on how often to change your oil and filter.
Inspect air filter; change the filter if it is dirty
- Air filter prevents small particles from entering the engine and causing potentially expensive damage.
- Replacing a clogged air filter can increase fuel efficiency and improve acceleration, depending on your car make and model.
- A dirty or damaged air filter limits the amount of air flowing into your car’s engine, making it work harder and, therefore, using more fuel.
- As your engine needs more than 14,000 litres of oxygen to burn every litre of fuel, it’s important not to restrict this air flow.
- Air filters should be replaced in case of any damage. However, to maintain the highest possible performance of your car, it is recommended to replace your air filters at least every 15,000 to 25,000 km. This interval should be reduced if you often drive in dusty conditions.
Change cabin air filter if it has not been replaced within the last 12 months
- Cabin filters are designed to remove dust, pollen and other contaminants, and help prevent the growth of mold in the ventilation system.
- Change your cabin air filter annually or every 20,000 km. If you find yourself driving in heavily polluted areas or travelling on dirt roads, you should change the cabin air filter every 10,000 km. Allergy sufferers may want to consider changing it more often to ensure air quality and to reduce their allergy symptoms.
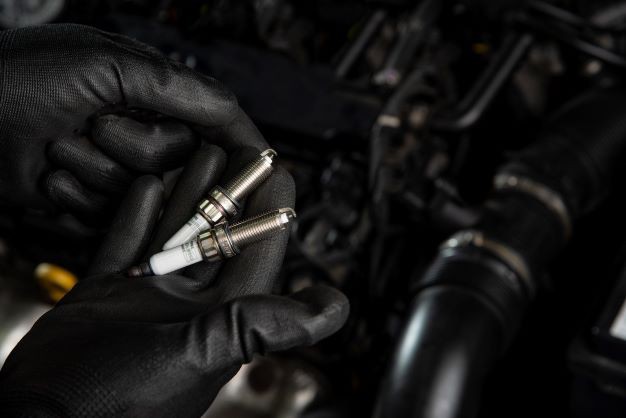
Check spark plugs
Spark plugs deliver the electricity that ignites the air-fuel mixture in the combustion engine of a vehicle. When a car has trouble starting, many drivers assume that there’s a problem with the battery. Signs and symptoms that identify when to replace the spark plugs include:
- The spark plugs are close to or have exceeded their vehicle manufacturer defined service interval.
- The check engine light is illuminated.
- The car is reluctant to start.
- The engine idle is rough and noisy.
- The car struggles to accelerate.
- There is a reduction in fuel economy.
The spark plugs are screwed into the cylinder head, sitting at the top of each cylinder. Over time, spark plugs wear out (as the electrodes burn down), creating a misfire. Good quality spark plugs have a longer life, as the electrodes take longer to burn down and provide a better spark. However, if there are some of the listed symptoms, removal and inspection of the spark plugs can provide an indication to engine condition and fuelling:
- Normal – brown or greyish-tan deposits on the side of the electrode.
- Carbon fouled – black, dry soot on the electrodes.
- Oil deposits – black, oily deposits on the electrodes and insulator.
- Wet – a result of the engine ‘flooding’ when it tries to start but does not fire.
- Burnt – blisters on the insulator tip, melted electrodes, or white deposits.
- Worn electrodes – eroded electrodes, confirming a spark plug is worn.
- Broken electrodes – an indication that the wrong spark plugs are installed.
Check the owner’s manual for the recommended spark plug replacement interval and the correct grade of spark plug.
Disinfect the air conditioning system
Due to old age and a lack of maintenance, a car’s climate control system (or air conditioning system), as well as all the circuits and vents, are a common place for mould, mildew, fungi and micro-organisms to grow.
It is possible for owners to disinfect some parts, but for the best result the cabin filter also needs to be replaced. It is therefore recommended that cleaning the system is best left to the professionals.
Champion offers premium filtration technology that filters more than 99% of germs and bacteria, prevents mould, removes odours, and improves efficiency and reliability of the air conditioning system.
This article is for informational purposes only. We are not liable for any damages resulting from your reliance on this content. This check list only provides general advice and cannot be referred to as a completed and final guide to each's driver's responsibility to ensure that her/his vehicle is in a proper working condition and ready for use on the road.

 English