From Manual to Electronic
Electronic components can be found all over today's vehicles, and the once-manual parking brake is no exception. From diagnostics to servicing the system, this transition brings a whole new set of challenges. This switch from a manual parking brake to electronic means that if there is an electrical system failure, an electronic parking brake may become inoperable and not release.
While this can make moving your vehicle difficult, read on to learn how to manually release the electronic parking brake in systems that have a removable motor on each caliper. Note that there are several different designs and this method does not apply to all; see service information provided by the manufacturer.
Procedure
In a few easy steps, you can release the electronic parking brake, making it easier to move the vehicle.
Step 1 – Raise Vehicle
Completing this procedure requires getting under the back of the vehicle to gain access to the rear brake caliper. This can be done by raising the vehicle with a lift or by using a floor jack and jack stands. Make sure that the surface is stable enough to support the jack and that the jack stands properly. Please note that if you need to do this in a parking lot, be sure you’re in a safe spot where no other vehicles could come in contact with you.
Step 2 – Locate Rear Brake Caliper
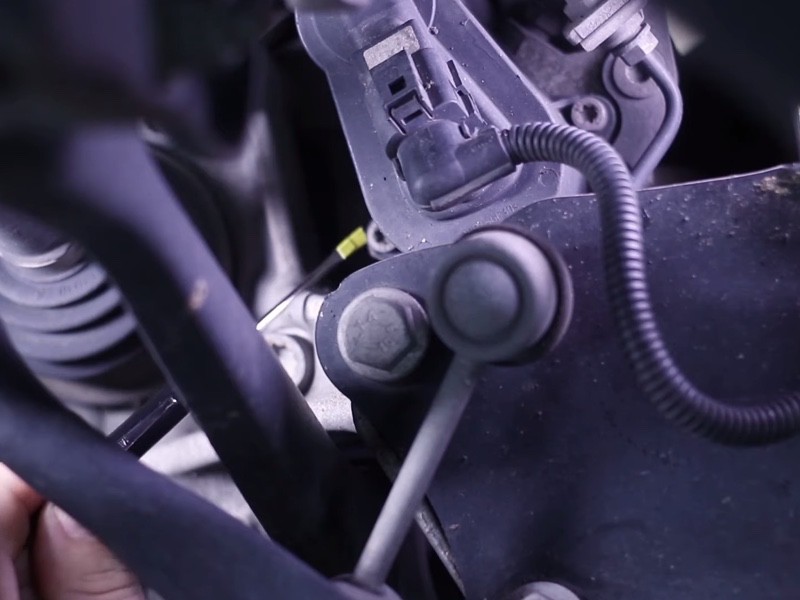
Once the vehicle is safely jacked up, you’ll need to get under the vehicle and locate the rear brake caliper. Look at how the electromechanical parking brake motor is mounted – some are serviceable and some aren’t. If it is serviceable, it’ll have bolts holding it onto the aluminum caliper housing.

Step 3 – Remove Bolts
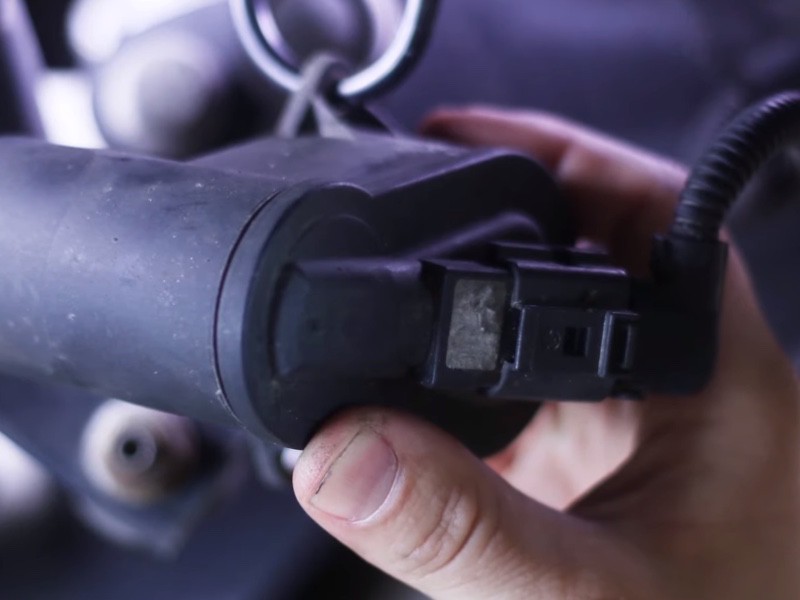
Once you locate the bolts holding the motor to the caliper housing, you can remove them. Important note – don’t unplug the electromechanical parking brake motor, as it could cause the system to lose its basic settings and, in some cases, could require you to replace the brake caliper and/or the electromechanical parking brake motor.
Step 4 – Remove Parking Brake Motor
After you remove the bolts, carefully remove the electromechanical parking brake motor. Take care not to catch the motor or harness on any of the suspension components. Secure this part out of the way.

Step 5 – Release Brake Caliper
Using the correct socket that fits in the back of the caliper piston, turn the caliper piston adjustment bolt ½ to one full turn to release the brake caliper. Do this to both sides.
Step 6 – Lower Vehicle
You can now take the vehicle off the jack stands, making sure that neither of the electromechanical parking brake motors get caught on any of the suspension components while lowering the vehicle.
Step 7 – Reverse Procedure
After the repair is completed, you’ll need to reverse the procedure on the electromechanical parking brakes. On most newer systems, the control module will relearn the air gap between the brake pads and rotors by operating the electronic parking brake a few times. However, in certain cases, you may have faults that need to be cleared. You may need to run a function test using the scan tool in order to relearn the air gap.
Visit Garage Gurus for onsite and online automotive training courses that can advance your career.
The content contained in this article is for informational purposes only and should not be used in lieu of seeking professional advice from a certified technician or mechanic. We encourage you to consult with a certified technician or mechanic if you have specific questions or concerns relating to any of the topics covered herein. Under no circumstances will we be liable for any loss or damage caused by your reliance on any content.


 English