Key information to help put a stop to any potential issues
Brake pads are some of the hardest working components on a car. When the brakes are applied, the caliper squeezes the two pads together onto the spinning brake disc, with the friction slowing and eventually stopping the vehicle. Around town and on longer journeys, the brake pads may be called on to slow a car hundreds of times.
Unsurprisingly then, replacing brake pads is one of the most common automotive repairs, it’s also one of the most straightforward jobs for a mechanic. However, while it’s relatively simple to complete, if the correct installation process isn’t followed, then it can give rise to several issues e.g., brake noise, caliper rattle and pad movement.
In this article, we look at best practice for fitting brake pads, with essential advice coming from the Garage Gurus team. Drawing on their vast industry experience, the team of master technicians explains how installing brake pads the right way can optimize safety, performance and durability.

Preparation is key
As with a lot of things, preparation is key. To ensure compatibility between components and optimum performance, it’s always best to have matching brands of discs and pads, and to use new installation hardware. A good sign of quality brake pads is that these replacement springs and bolts will also be included in the kit.
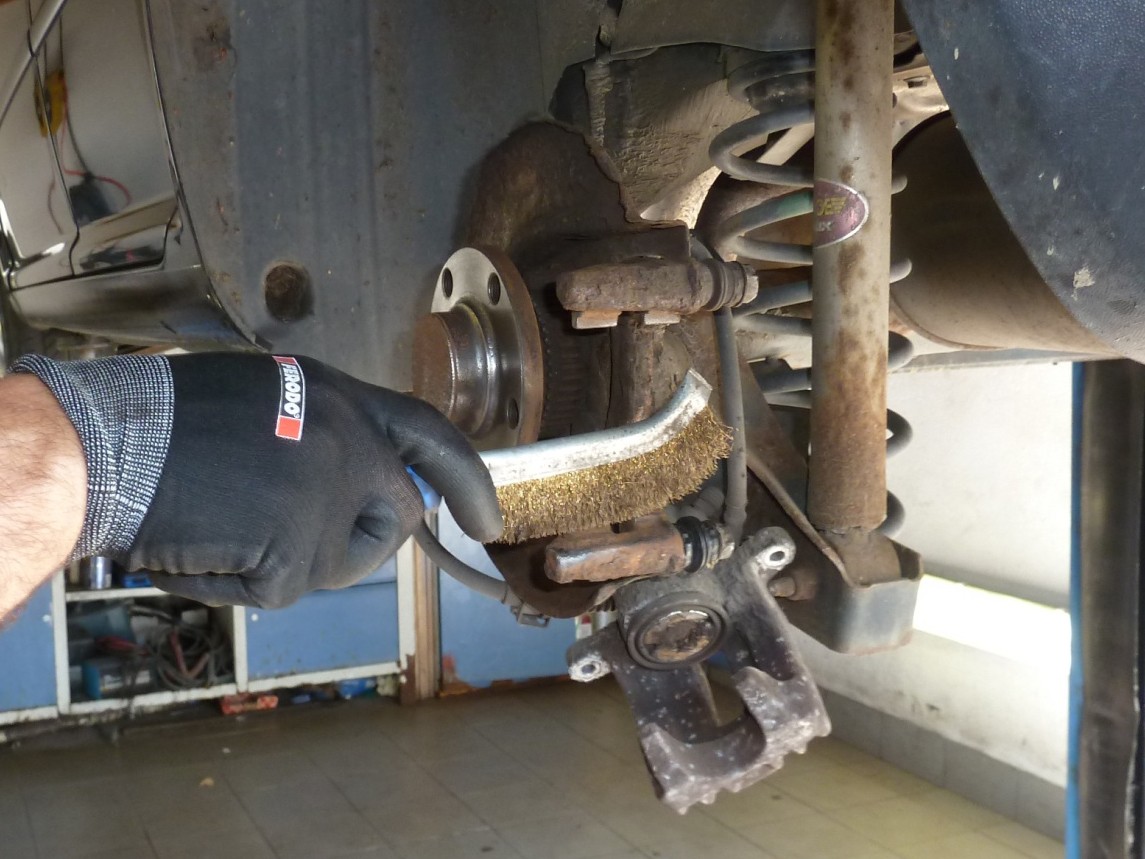
Before replacing the pads it’s vital to first check and clean the calipers’ mounting surfaces, which will ensure unrestricted movement of the pistons and remove any contamination or debris that may cause brake noise.
Such noise can also be avoided by adding special temperature-resistant brake grease to the abutment of the brake pads, the caliper mounts and the new brake pad clips. However, never use copper-based grease for brake system parts as this can cause electromechanical corrosion and may also lead to sticking at high temperatures.
Dealing with directional brake pads
- With all the surfaces cleaned and prepared, inserting the brake pads is next. At this stage, determine whether the pads are ‘directional’ or not. ‘Directional’ brake pads have an asymmetrical design that sees them applied to the disc at an angle, which works to reduce vibration and noise. Often, these pads will have a chamfer on the friction surface, or a cut-out in the noise reduction shim on the backing plate that needs to be positioned on the caliper in a specific way. To eliminate potential noise, the arrow marking on the backplate of the pad also needs to match the direction of brake disc rotation.
- Some brake pads will have rivets on the backplate, too. Again, these types must be fitted in the right position to avoid misalignment and potential noise and vibration.

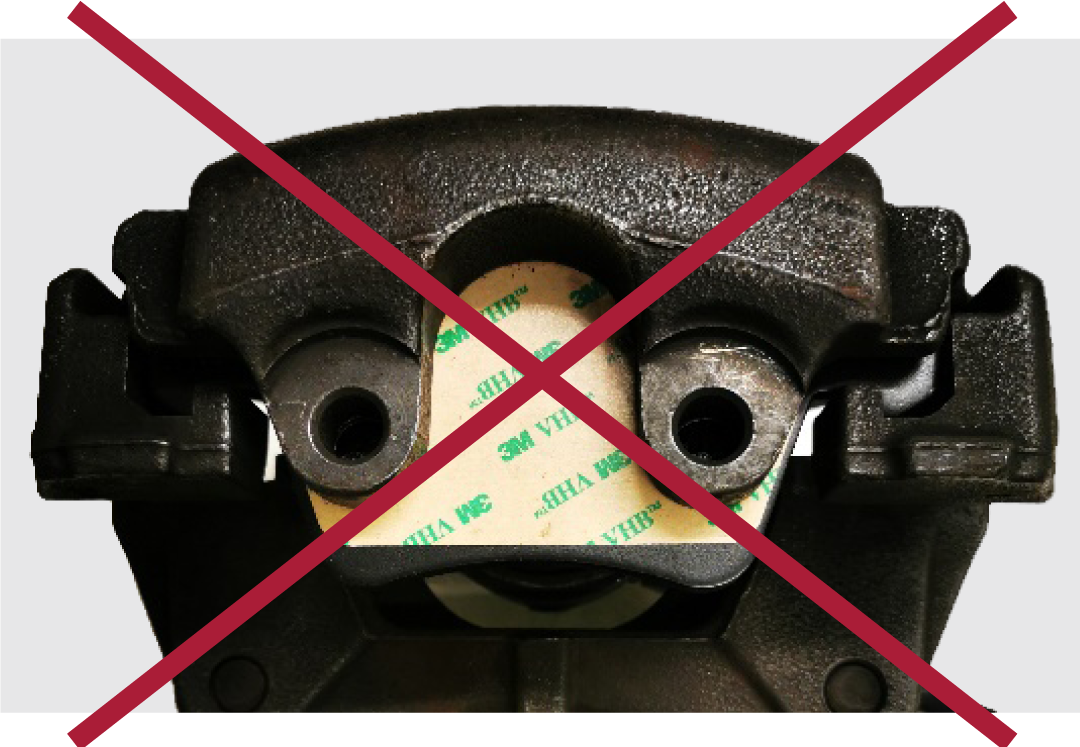
- Be aware that some brake pads may also be supplied with an adhesive foil. If this is the case, only the paper needs to be removed. The adhesive foil is there to secure the brake pad to the caliper piston and avoid any movement.

tightening the caliper and wheel bolts must be done to manufacturer's recommendations and avoid using a pneumatic impact wrench.
Instead, a gentle compressed air tool and then a torque wrench are recommended.
Don’t forget the need for bedding-in
With the vehicle back on the ground and the replacement of the brake pads finished, there’s one more vital thing to complete – the correct bedding-in process. First, check the brake pedal for correct travel and feel, and then, for initial bedding-in, apply the brakes around 20 times to slow the vehicle from 80 to 30 km/h using slight or moderate pressure. It’s then a case of advising the customer to avoid sudden braking or braking from high speed for the first 200-300 km.
By following the right installation and bedding-in process, the chance of any unwanted noise or vibration are minimized, with the vehicle acting under braking as it should.
For the best job, match the right procedure with quality brake pads and brake discs. We recommend using both pads and discs of the same brand for best compatibility and performance. For matching OE quality, choose a trusted brand like Jurid or Ferodo that has decades of proven braking expertise in producing components that excel in all conditions. This way, the customer will benefit from a long-lasting repair that returns their vehicle’s braking performance to as the manufacturer intended.
Want to know more?
Interested in knowing more about braking tips? Check our technical data sheets page and download files related.
Check out our online braking courses by registering in our e-learning platform for free or visit the Garage Gurus YouTube channel.
The content contained in this article is for informational purposes only and should not be used in lieu of seeking professional advice from a certified technician or mechanic. We encourage you to consult with a certified technician or mechanic if you have specific questions or concerns relating to any of the topics covered herein. Under no circumstances will we be liable for any loss or damage caused by your reliance on any content.


 English